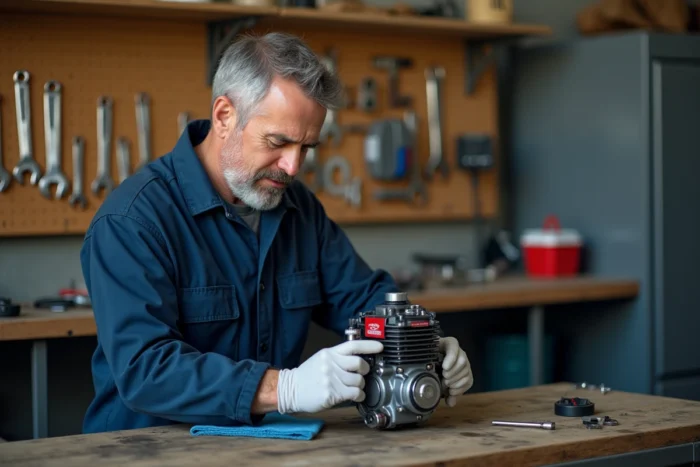
A Briggs and Stratton engine that refuses to start cold or backfires at idle often leads to directly removing the rocker cover to adjust the valves. In most cases encountered in garden machinery workshops, the valve clearance is not the primary cause of the problem. Before pulling out the feeler gauges, it’s worth taking a quick diagnostic on three specific points to save time (and avoid misadjusting a correct setting).
Diagnostic before adjustment: valves, decompressor or carburation
An OHV Briggs and Stratton engine that loses compression can exhibit exactly the same symptoms, whether the issue stems from the valve clearance, a stuck mechanical decompressor, or a clogged carburetor. Distinguishing these three causes before intervening helps avoid misadjusting what was functioning.
A stuck decompressor perfectly mimics excessive valve clearance. On OHV single-cylinder engines, the automatic decompressor (a small eccentric cam on the camshaft) keeps the exhaust valve slightly open at startup to reduce the pulling effort. If this cam remains stuck in the high position, the exhaust valve does not close completely beyond the starting speed. The engine then runs with a regular knocking sound and a noticeable loss of power, exactly like with excessive clearance.
To check, remove the rocker cover and observe the exhaust rocker arm at the starter very slowly. On a functional decompressor, the clearance on the exhaust rocker arm briefly disappears with each rotation during the decompression phase, then returns. If the rocker arm remains constantly in contact without regaining clearance, the decompressor is the issue, not the adjustment.
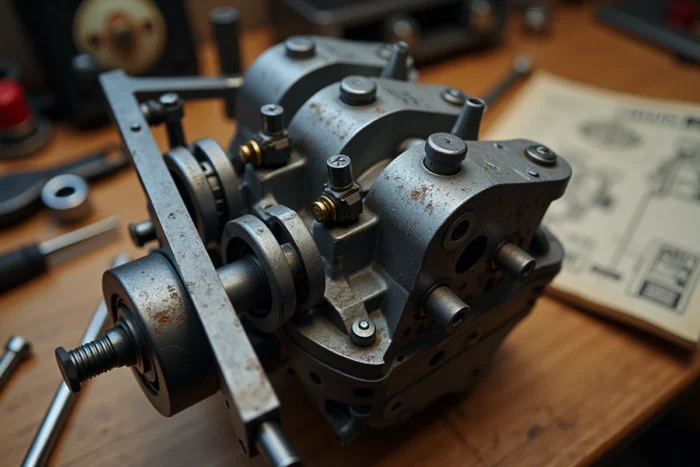
The second classic trap is carburation. An engine that starts hard when cold and then runs properly when hot rarely points to the valves. A partially clogged main jet or a stuck fuel inlet needle produces a mixture that is too lean at startup. You can test this by spraying a little brake cleaner into the intake: if the engine starts immediately, the problem lies with the carburetor.
The third scenario, more insidious, involves the gradual tightening of the clearance. After several hundred hours of operation, the valve seats wear and the valves sink into the cylinder head. The clearance decreases instead of increasing. The engine loses power when hot (thermal expansion fully closes the valve). This is the only case where the Briggs and Stratton valve clearance adjustment actually resolves the issue.
Tools and piston position for reliable adjustment
Once the diagnosis is confirmed, prepare for the intervention. The adjustment is done with the engine cold, spark plug removed, on a stable surface.
- Feeler gauge set (including fine values), as we are working with gaps of a few hundredths of a millimeter between intake and exhaust
- Socket wrench suitable for rocker nuts (often 10 mm) and a flat screwdriver for the adjustment screw
- A thin rod or a dial gauge inserted through the spark plug hole to locate the top dead center (TDC) compression
The piston must be at top dead center on the compression stroke, not on the exhaust stroke. This is the most common mistake. At TDC compression, both valves are closed and both rocker arms have clearance. At TDC exhaust, the intake valve begins to open: if you adjust at this moment, the values will be incorrect.
To find the correct TDC without a dial gauge, turn the flywheel in the normal rotation direction while observing the rocker arms. Wait for the intake rocker arm to open and then fully close.
Continue to turn slowly until you feel the piston rise to the highest point (resistance on the rod inserted into the spark plug hole). At this point, both rocker arms should have clearance. If either one is still in contact, you are not on the correct stroke.
Valve adjustment procedure on OHV Briggs and Stratton engine
With the rocker cover removed and the piston set at TDC compression, you can measure and adjust.
The exhaust valve always has a greater clearance than the intake valve because it experiences much higher temperatures and expands more during operation. The exact values vary according to the engine series (single-cylinder, twin-cylinder, Intek, Vanguard). Always refer to the technical documentation for the model identified by the engine code engraved on the casing.
For each valve, the method is identical:
- Slide the corresponding feeler gauge between the rocker arm and the valve stem. It should pass with slight resistance, without forcing or floating freely
- Loosen the rocker arm lock nut, turn the adjustment screw with a flat screwdriver until the correct friction on the gauge is achieved
- Hold the screw in position with the screwdriver and tighten the lock nut without moving the screw. Immediately recheck the clearance after tightening, as the lock nut often shifts the screw by a quarter turn
- Repeat the operation on the second valve
Always recheck after tightening the lock nut: this is where most adjustments fail. The tightening torque on the lock nut can shift the screw, and a few hundredths can be lost in the process. Repeat until the gauge passes correctly after locking.
Check after reassembly and signs of a successful adjustment
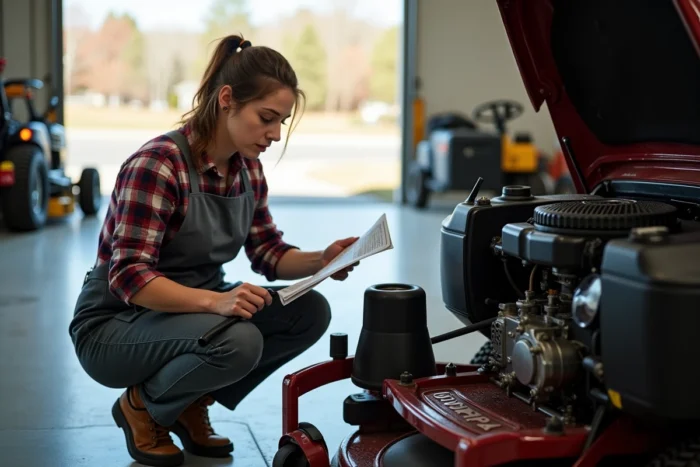
Once the rocker cover is replaced with a clean (or new if the old one is crushed) gasket, reinstall the spark plug and start the engine. A correct adjustment is indicated by a strong start on the first pulls and a stable idle without metallic knocking.
If the engine still knocks when hot after a verified adjustment, return to the initial diagnosis: the decompressor or wear of the valve seats (which then requires lapping or replacement) are likely the cause. Feedback varies on this point depending on the overall condition of the engine, but a correctly set clearance that does not last more than one season often indicates worn valve guides.
Garden machinery workshops now incorporate valve adjustment into a comprehensive check of compression, ignition, and carburation during spring servicing. Treating the valves in isolation, without checking the rest of the chain, is like adjusting a link without checking if the chain holds.